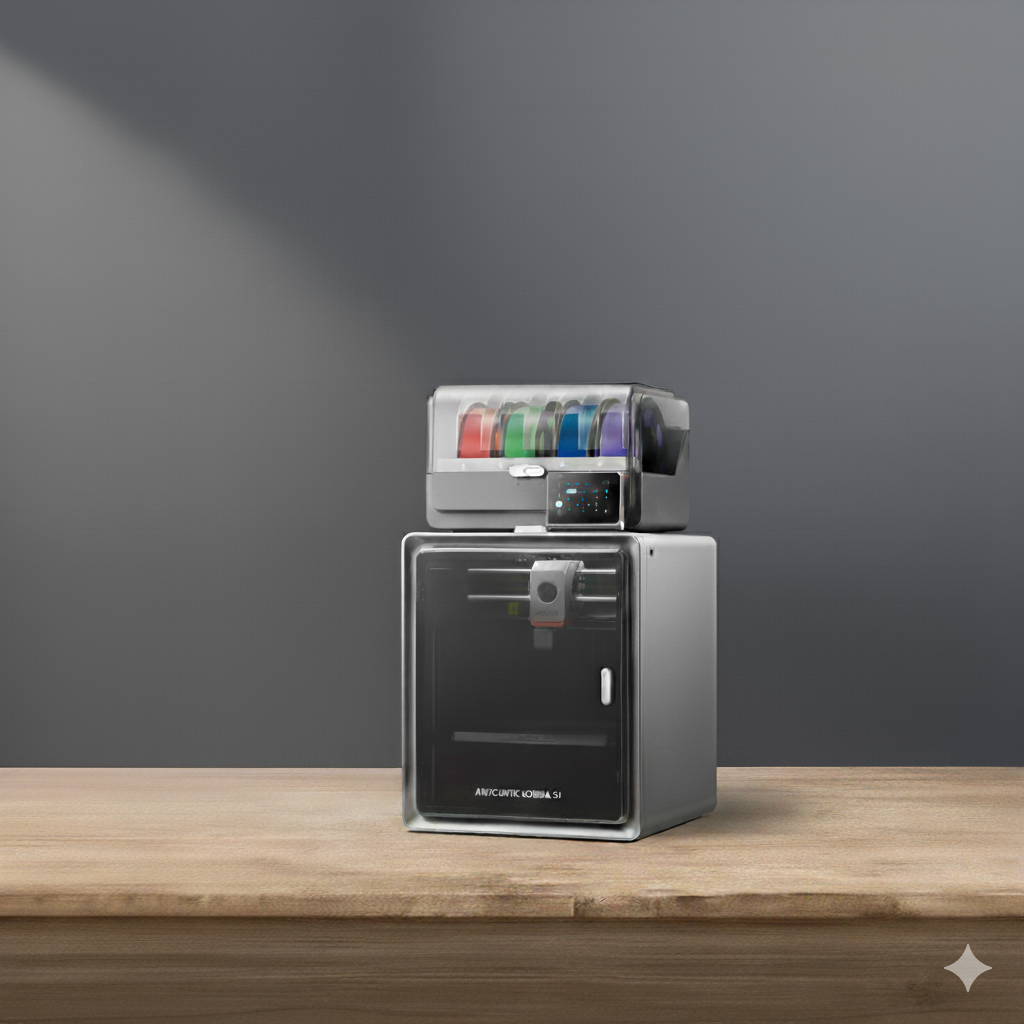
So you bought a 3D printer. Congrats — you’re officially part engineer, part artist, and part babysitter for a hot glue robot. The Kobra S1 Combo makes this whole circus easier, but only if you set it up right from the start. Here’s how to do that without the tears and regret.
- Unbox Like a Professional Adult (not like it’s Christmas morning and you’re five years old)
Resist the urge to yank everything out like a raccoon in a trash can. Carefully remove each component and check you’ve got the essentials:
- Base unit (bed, gantry)
- Vertical frame and extruder assembly
- Display screen and cables
- Spool holder and filament sensor
- Toolbox, power cable, and accessories
- Any included combo extras (sometimes tucked under foam — don’t toss them)
Pro tip: keep the foam packaging until you’re sure everything works. Nothing’s worse than needing to ship it back and realizing you recycled the box.
- Assemble the Frame (nice and steady)
This isn’t IKEA furniture, but it’s close. The S1 Combo is mostly pre-assembled, so you’re just connecting major components:
- Bolt the vertical gantry onto the base. Tighten firmly but don’t go full Hulk.
- Mount the extruder head on the carriage and secure the belts (they should be snug, not guitar-string tight).
- Connect the display screen and sensor cables — they’re keyed, so don’t force anything that doesn’t fit.
- Attach the spool holder to the top or side depending on your setup.
- This takes about 15 minutes if you’re sober and following the manual, 45 if you’re “winging it.”
- Plug It In and Let the Wizardry Begin
Power it on. The touchscreen should light up and show the startup screen. If it doesn’t, check:
- Power switch is flipped on (yes, this happens).
- Power cable is fully inserted.
- Voltage switch on the PSU (if present) matches your country’s outlet.
If all else fails… deep breath, then re-seat the cables before panicking.
- Auto-Level the Bed (self-care. Trust me.)
The Kobra S1 Combo’s auto-leveling sensor is one of its greatest gifts to humankind. It’s the reason your first layer sticks instead of becoming a molten hairball.
On the touchscreen:
- Go to Leveling > Auto-Level
- The nozzle will probe multiple points across the bed.
- Once it’s done, the bed map is saved.
👉 Pro tip: Make sure the bed is clean and cool before leveling. Finger oils or dust will mess with adhesion and give you false readings.
- Set the Z-Offset (a.k.a. the secret source)
This step is critical. Even with auto-leveling, your nozzle height might be slightly off. A bad Z-offset equals bad adhesion, stringing, or a failed first layer.
- Go to Tools > Z-Offset
- Start a test print (a simple square or skirt).
- While it’s printing the first layer, adjust the Z-offset in tiny increments until the filament looks slightly squished and smooth.
If it’s too high: filament won’t stick.
If it’s too low: nozzle scratches the bed and ruins prints.
When it’s just right, it looks like smooth tape.
- Load the Filament (slowly. Like you care.)
Filament loading is not a race. Heat the nozzle to the filament’s recommended temperature (e.g., 200°C for PLA), then:
- Insert the filament into the extruder until you feel it grab.
- Gently push until you see plastic oozing from the nozzle.
- Wipe away any drips with tweezers — molten plastic on your fingers is… memorable.
Attach the filament sensor cable if you haven’t already. It’ll pause prints automatically if you run out mid-job.
- Run a Test Print (this is actually so cool)
Load the sample G-code file from the included SD card. This ensures you’re testing the printer, not your slicer skills, first.
Watch the first layer like a hawk. This tells you everything about your setup:
- Too high: spaghetti.
- Too low: scratching noises and tears.
- Just right: smooth, even squish.
If something’s off, pause and tweak Z-offset or bed adhesion before wasting hours on a doomed print.
- Calibrate Your Slicer (the real magic begins here)
Once you’re confident in hardware setup, move on to slicing:
- Use Anycubic’s recommended Cura profile as a baseline.
- Tweak layer height, infill, and speed for your project.
- Enable supports and adhesion helpers (brim or raft) for tricky prints.
The real power of the Kobra S1 Combo is unlocked here — dialing in the perfect slicer settings for your specific filament and project type.
- Maintenance Habits (cuz Kobra deserves proper care)
A well-maintained printer is a happy printer. Make these a ritual:
- Wipe the bed with isopropyl alcohol before every print.
- Lubricate rails every ~50 hours of printing.
- Check belts for tension monthly.
- Clean the nozzle regularly — carbonized gunk is the enemy.
- Back up your firmware settings if you tweak advanced configs.
🏁 Final Thoughts
The Kobra S1 Combo was designed to make 3D printing accessible, not easy. There’s a difference. It handles the tedious stuff (leveling, calibration headaches) so you can focus on the fun part: creating cool, functional, or completely unnecessary things because you can.
Once you get through this setup — which, honestly, is pretty painless compared to most printers — you’re in for a smooth ride. From your first little Benchy to your first complex multi-part build, this machine has the range.
Treat it well, dial in the basics, and it’ll reward you by turning plastic spaghetti into actual art.


Leave a Reply