
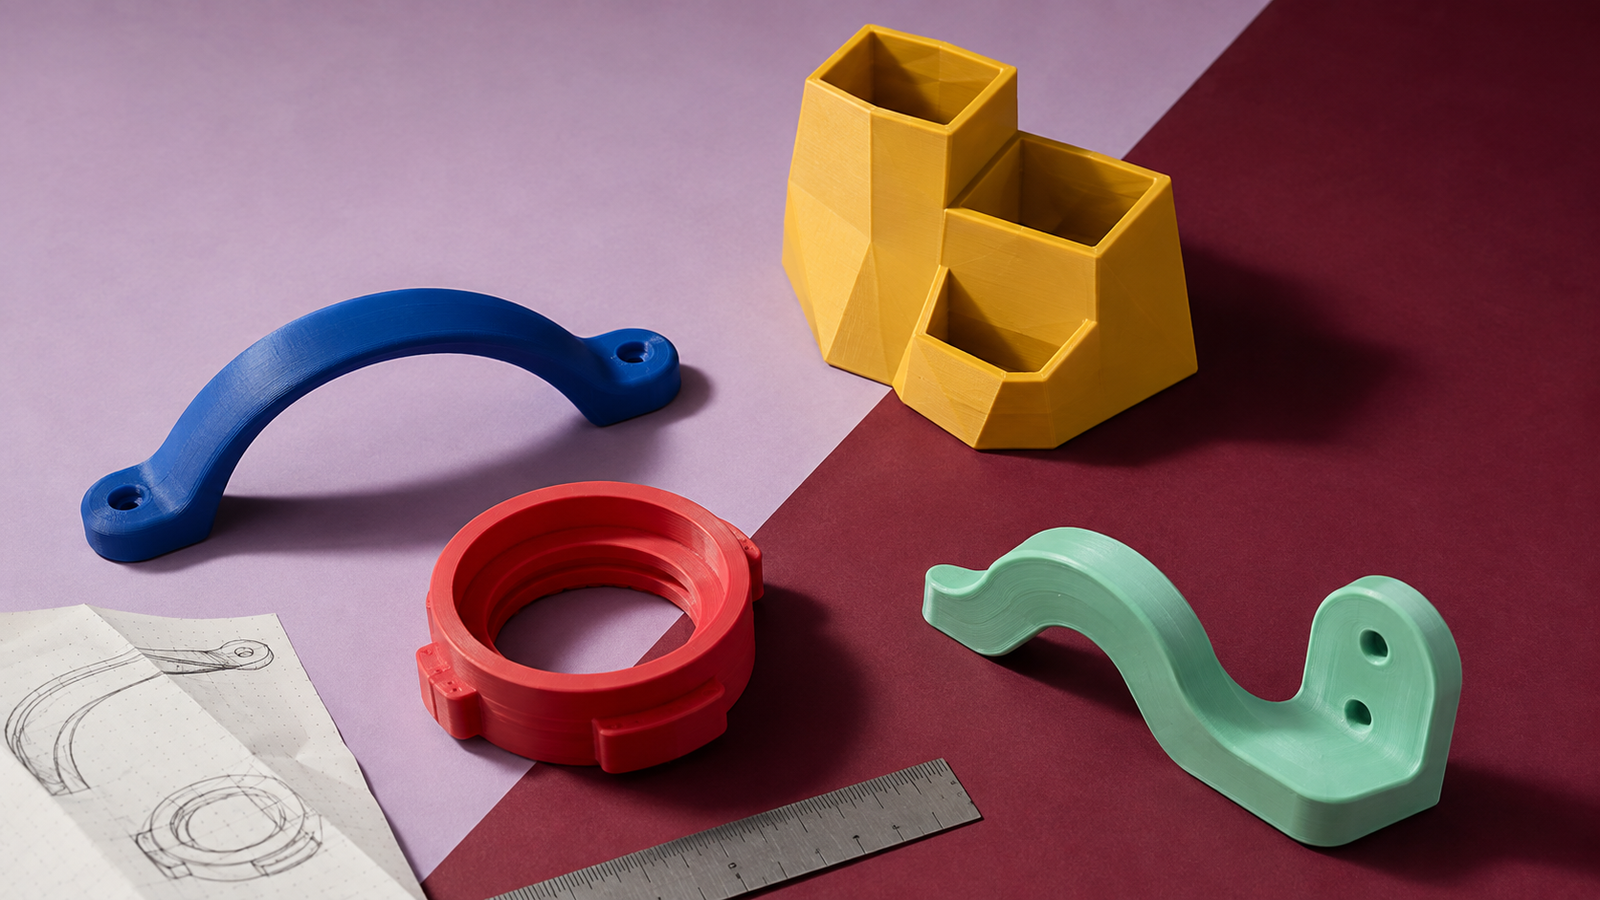
Most custom objects do not begin as 3D models.
They begin with a sentence:
“I need something like this, but…”
Smaller. Wider. Stronger. Easier to hold. Able to fit a space that no standard product seems to understand.
That little word but is usually where the real work begins.
From the outside, 3D printing can look wonderfully immediate. A digital object appears on a screen, someone presses a button and, layer by layer, the machine turns it into something physical. The printing stage is certainly the most visible part. It is also the easiest part to film.
But for us, printing is usually the middle of the process—not the beginning.
Before the machine moves, someone has to understand the problem, ask the slightly annoying questions, measure the real environment, decide what the object must do and translate all of that into geometry. After the first print, someone has to notice what still feels wrong.
The finished object may look simple. The thinking behind it rarely is.
The Idea Usually Arrives Before the Design
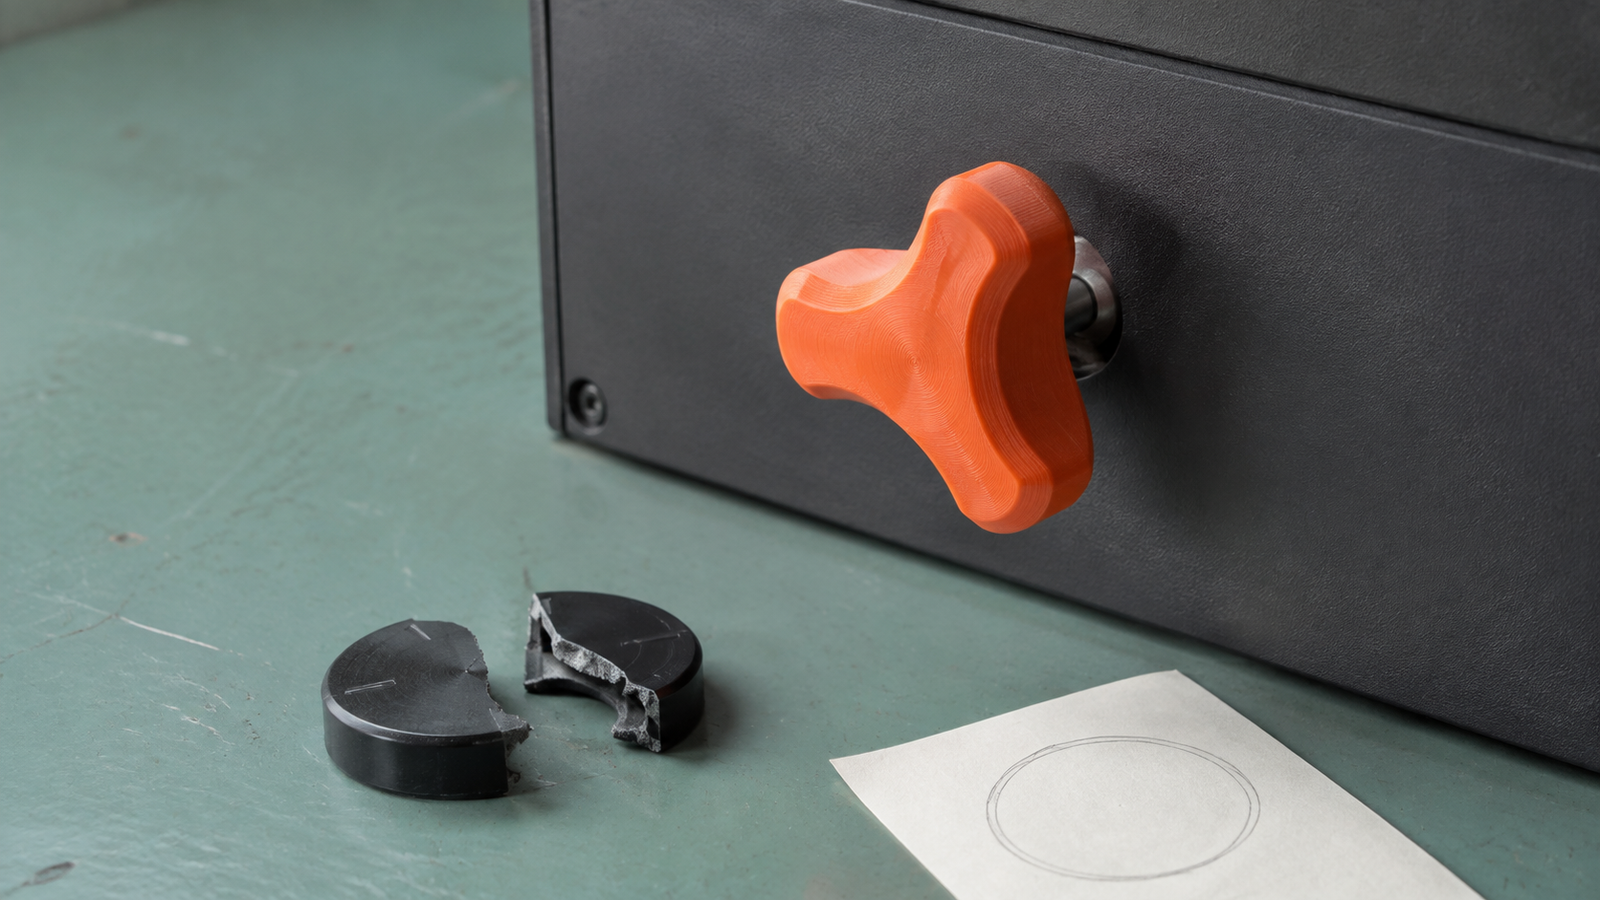
People do not need to arrive with a polished technical drawing. In reality, an idea may come as a phone photo, a quick sketch, a broken part in a bag or a frustrated explanation of something that almost works.
“This clip is no longer produced.”
“The available organizer is two centimetres too wide.”
“I need this cable to stay here, but I still need to remove it easily.”
These are not incomplete requests in a bad sense. They are useful starting points. They tell us where the friction is.
The first job is not to open modelling software and draw the first shape that comes to mind. It is to reduce ambiguity. Which part of the current solution is failing? What absolutely must stay the same? What can change? Where will the object live? Who will use it, and what will they do with it repeatedly?
An attractive model that answers the wrong question is still the wrong object.
We Begin With the Job, Not the Shape
Imagine a small guide that keeps a charging cable from falling behind a desk.
At first, it sounds like a very simple object. But even this modest task creates decisions. How thick is the desk edge? How wide is the cable? Should the cable slide freely or click into place? Does the guide stay attached permanently, or should it be removable? Will the connector pass through the opening? Is the edge square, rounded or slightly irregular?
If we begin with appearance, we may create something elegant that does not fit. If we begin with the job, the shape has a reason to become what it is.
This is one of the things I enjoy most about custom design. The question is not, “What object can we add to the world?” It is, “What small difficulty can we remove?”
That change of perspective makes the process more focused. It also makes the final result easier to judge: either the object performs its job in the real place, or it does not.
Measurements Are Where the Idea Meets Reality
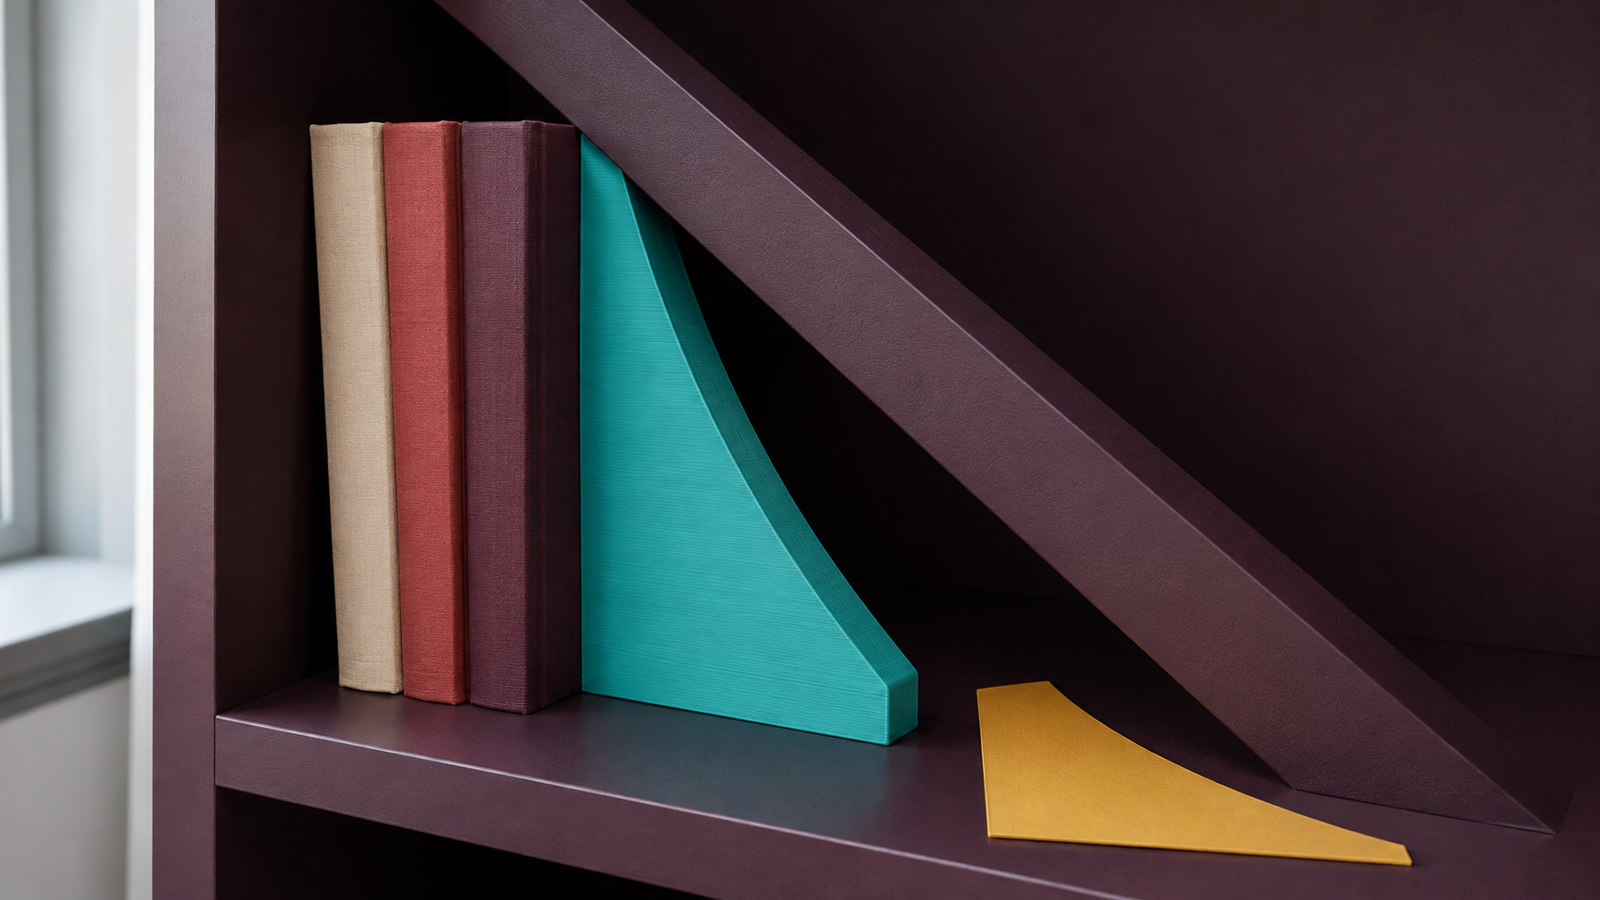
Ideas are forgiving. Physical spaces are not.
A desk edge may look perfectly straight until we measure it. A cable that seems “standard” may have a thicker connector or a softer bend than expected. A replacement piece may need to fit around a screw head, worn surface or tiny curve that was invisible in the first photograph.
For fitted objects, a small difference can decide whether the result feels natural, sits too loosely or does not fit at all.
That is why useful reference material matters. Several photographs are better than one. A ruler or familiar object in the frame helps establish scale. Clear measurements are even better—especially when they show thickness, depth, spacing and anything the new part must avoid.
Measuring is not the glamorous part of 3D printing. It is one of the parts that saves the most disappointment.
The Model Turns Information Into Decisions
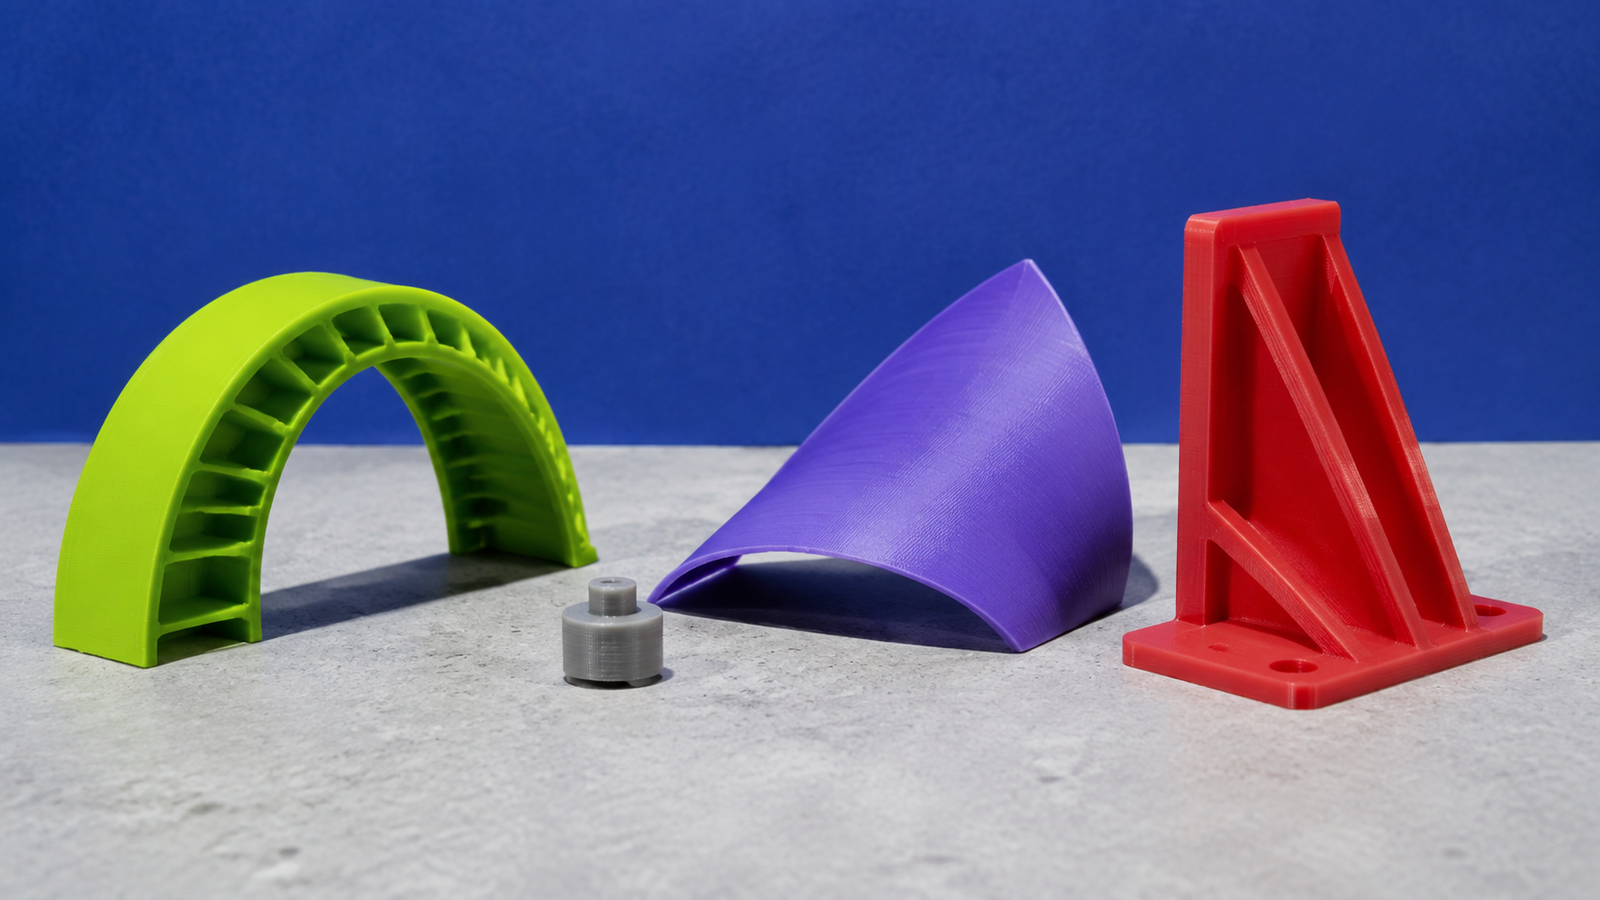
Once the purpose and dimensions are clearer, modelling begins.
This is not simply tracing a sketch in three dimensions. Every line becomes a decision. How thick should the walls be? Where does the part need stiffness, and where does it need a little flexibility? Which corners should be softened? How much clearance will allow two parts to fit without becoming loose? In which orientation can the object be printed sensibly?
The model also forces us to confront contradictions. A piece may need to be compact but easy to grip. It may need to hold a cable securely while still allowing quick removal. It may need to look light but resist repeated use.
There is rarely one magical answer. There is a series of compromises that must support the same purpose.
This is why a tiny custom object can sometimes require more thought than a much larger decorative one. Size and difficulty are not the same thing.
The First Print Is a Question
The first physical version is exciting because the idea finally leaves the screen. It is also where the design begins telling the truth.
Something that looked balanced in the model may feel bulky in the hand. A clip may be too tight. An opening may work for the cable but not for its connector. A surface may need a softer edge. The object may fit perfectly once and become annoying after the tenth use.
That does not make the first print a failure.
A prototype has done its job when it gives us better information than the model could provide alone. Sometimes the change is obvious. Sometimes the difference between versions is only a millimetre, a curve or a small shift in where pressure is applied.
Good iteration is not printing the same object repeatedly and hoping. Each version should answer a question:
- Does it fit?
- Is it comfortable to use?
- Can it be attached and removed as intended?
- Is any part unnecessarily thick or fragile?
- Does it still solve the original problem outside the workshop?
The goal is not to defend the first idea. The goal is to improve the object.
Refinement Is Where the Object Becomes Quiet
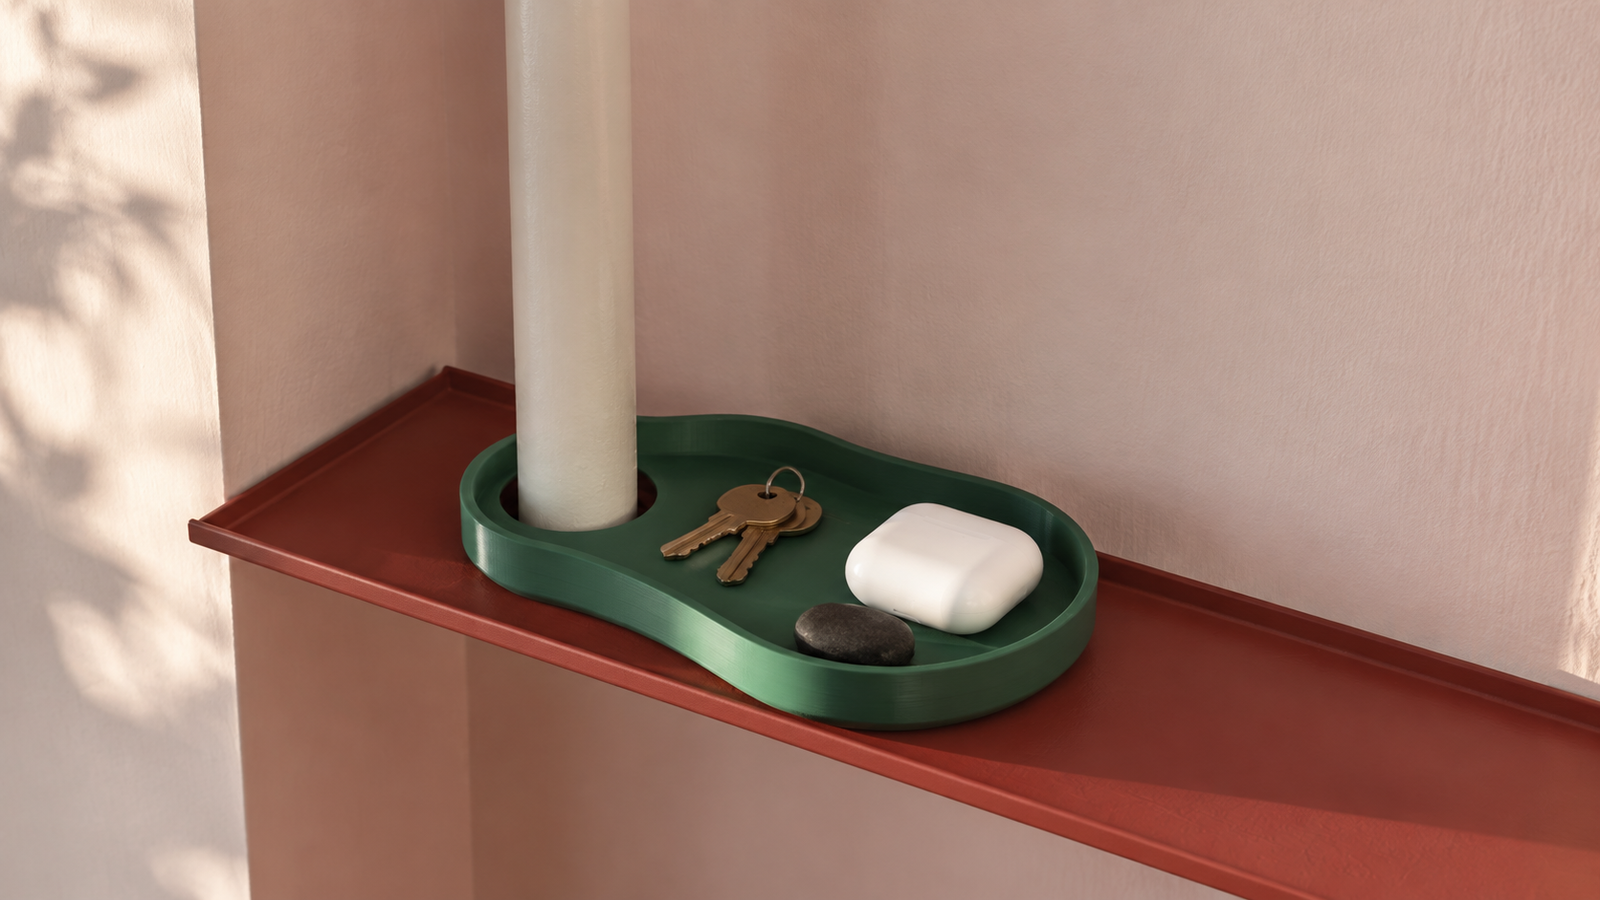
When a custom object works well, it often becomes less noticeable.
The cable stays where it should. The replacement part clicks into place. The organizer fits the awkward corner. The user stops thinking about the original irritation because it is no longer interrupting the day.
Refinement is what creates that quiet usefulness. It may involve changing the fit, reducing material, improving the contact surface, choosing a more appropriate material, adjusting the print orientation or cleaning the final edges. None of these decisions is especially dramatic on its own. Together, they are the difference between an interesting print and a dependable object.
This is also why we do not think of the printer as a magic box. The machine is important, but it cannot decide what the problem means. It cannot notice that an object technically fits yet feels unpleasant to use. It cannot ask whether a simpler solution would be better.
Those are design decisions.
The Finished Object Is Only the Visible Part
When we finally hold the completed object, most of the process disappears.
The questions are no longer visible. Neither are the measurements that prevented a bad fit, the discarded geometry, the prototype that was slightly too tight or the decision to simplify one unnecessary feature.
Only the object remains.
I like that. A good custom product should not carry all of its effort on the surface. It should simply make sense where it belongs.
So when someone brings us an unfinished idea, we do not expect them to arrive with every answer. That is not the starting requirement.
Bring the problem. Bring the context. Bring the broken piece, the strange measurement, the photograph or the sentence that ends with “but.”
The rest is the work between an idea and an object—and that is where 3D printing becomes much more interesting than pressing Print.
Leave a Reply