Your cart is currently empty!

Building an Enclosure: My First Big 3D Printing Project
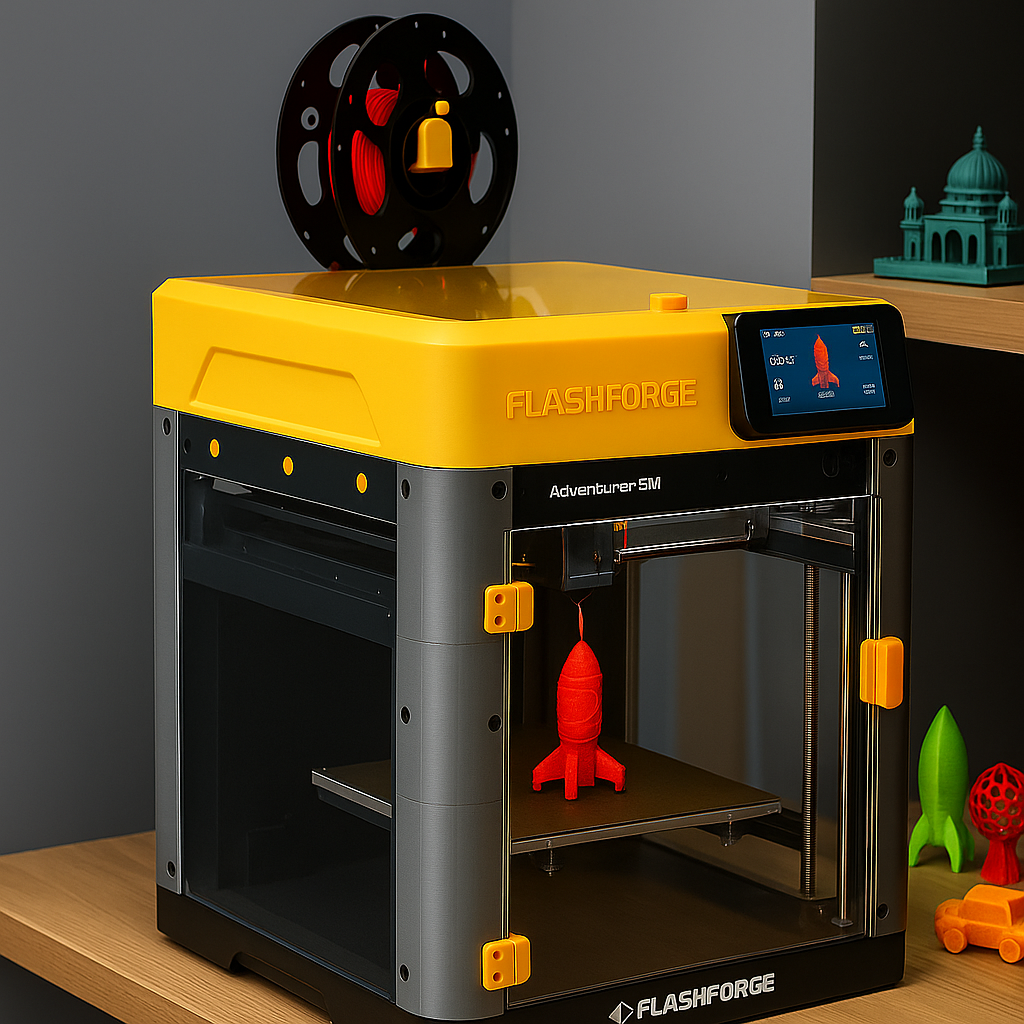
After mastering the basics with the FlashForge Adventurer 5M, my uncle suggested our first real project: building an enclosure for the printer itself. This wasn’t just printing a toy or a decorative piece—this was using 3D printing to create something functional that would actually improve how the machine worked.
Planning the Build
The enclosure kit is built from two main components: custom 3D-printed parts and standard hardware you can order online. If you’re considering building one yourself, here’s how it works: you’ll print the specialized brackets, corners, and mounting pieces on your own printer, then combine them with acrylic panels, screws, and other standard parts to create the complete enclosure (The kit comes with assembly instructions).
The beauty of this approach is that you only need to buy the generic hardware—the custom-fitted parts come from your printer. You’ll find all the printable files and a complete list of required hardware in the links at the end of this post.
This would be my first multi-part project, and it felt significant. I wasn’t just printing one object; I was manufacturing components that had to fit together precisely to create something larger.
The Printing Process
Printing all the custom parts took several days. Each bracket, corner piece, and mounting component had to be printed individually. The workflow became routine: I’d start a print before school, come home to remove it and queue up the next one, then repeat the process.
If you’re planning to build this yourself, budget time accordingly—you’ll need multiple days of printing depending on your printer’s speed and the number of parts required. The good news is that most parts aren’t particularly large, so individual print times are manageable.
Watching the pile of parts grow on my desk was satisfying in a way single prints had never been—I was building toward something real. The printer was literally making the parts needed to upgrade itself. There was something remarkably cool about that.
Assembly and Challenges
Once all the parts were printed and the hardware arrived, assembly began. For anyone following along, here’s what to expect: you’ll be aligning acrylic or plastic panels, securing them with the 3D-printed brackets, and making sure everything fits together properly. The process is straightforward but requires patience and attention to detail.
It took more time than I initially expected, but that precision is what makes the final result solid and functional. Take your time with each connection—getting the alignment right the first time saves frustration later.
When we finally secured the last panel and stepped back to look at the finished enclosure, the satisfaction was genuine. I had designed nothing, but I had manufactured and assembled every custom component myself. This was the first project that felt truly meaningful—not just a print, but something I had built.
The Benefits
The improvements were immediately noticeable. The enclosure dramatically reduced noise, which meant I could run prints without the constant hum filling the room. More importantly, it provided temperature stability, creating a controlled environment inside the printer that led to noticeably better print quality.
The enclosure also opened up new possibilities. With stable temperature control, we could print materials like TPU (a flexible filament) that had been challenging before. The printer had become more capable, and I had made that happen.
Looking Back
This project taught me that 3D printing was more than producing objects—it was about solving real problems and making tangible improvements. The enclosure project showed me what was possible when you moved beyond downloading and printing individual models to actually building something functional and complex.
It was the first time 3D printing felt less like a hobby and more like a real skill I was developing.
Resources:
One response to “Building an Enclosure: My First Big 3D Printing Project”
-
It was actually so cool watching this come together.

Leave a Reply